How to Use Red Light Treatment on Your Face?
Red light therapy has moved from clinics into bathrooms, where compact panels and masks promise a simpler skincare routine. Red Light Treatment Face use is not complicated, but the details matter. Wavelength, distance, session length, and device instructions can all affect how treatment is used. A bright mask on a clean, dry face may look straightforward. Still, more light or longer sessions do not necessarily mean better results.
This guide explains how to prepare your skin, position a device, and follow its recommended schedule. It also covers eye protection, common comfort concerns, and what realistic progress may look like. Some people notice gradual changes in skin appearance; results vary, and research does not support every marketing claim. Keep expectations measured. A device is not a substitute for medical care or a complete skincare routine. If you have a skin condition, take medication that increases light sensitivity, or are unsure whether treatment is suitable, ask a qualified healthcare professional. Small details matter. So does patience. It can be tempting to add extra sessions when nothing seems to happen, but that may not help. Use the product as directed, keep notes about your routine, and stop if treatment causes persistent discomfort. A careful approach is less dramatic, perhaps, but more useful than chasing instant results.
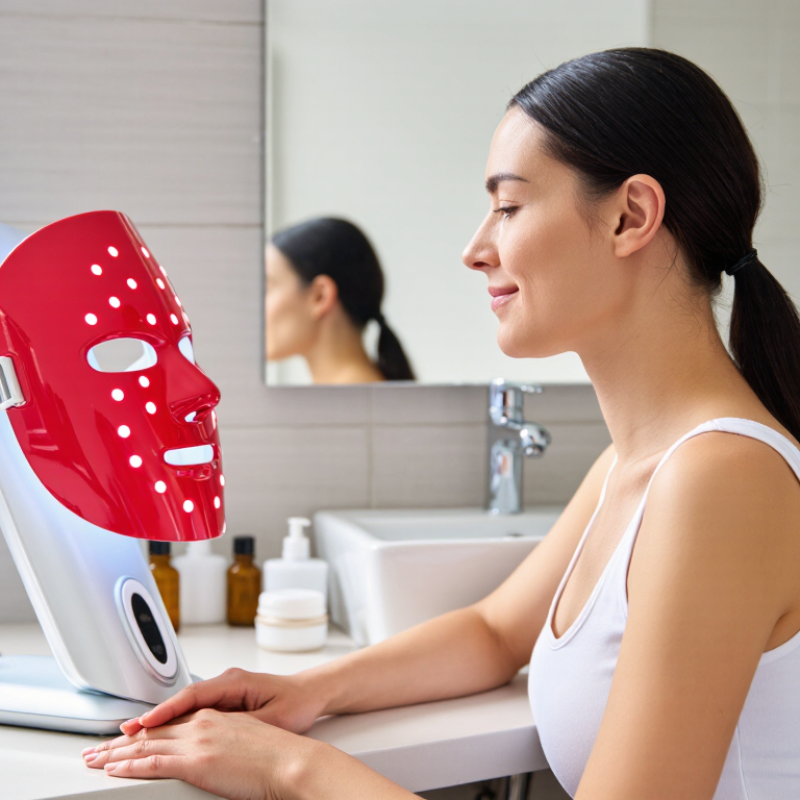
How Red Light Treatment Works on Facial Skin
Red light treatment uses specific visible red wavelengths, often around 630–660 nanometers, to deliver light into the skin. Unlike ultraviolet light, it is not intended to create a tan or a controlled burn. Skin cells absorb some of this energy through light-sensitive molecules. This may influence mitochondrial activity and cell signaling, including pathways involved in collagen production and inflammation. These responses are gradual and vary with wavelength, dose, device fit, and individual skin. Evidence is promising, but results are not guaranteed.
Tips: Cleanse and dry your face before a session; creams can affect light delivery. Follow the device’s timing and distance instructions, and use eye protection when advised. Start gently. More exposure is not automatically better.
A session should feel comfortable, not hot or painful. Persistent redness, eye discomfort, or worsening irritation is a reason to stop and seek professional advice. People using medicines that increase light sensitivity, or managing a skin condition, should check with a dermatologist first. Photos taken in the same lighting may help track changes over several weeks. Still, lighting and expectations can fool you; I would not judge progress from one mirror check.
How to Check Device Safety and Suitability
Before using red-light treatment on your face, inspect the device manual, not just its product page. Look for the stated wavelength, recommended distance, session length, and eye-protection guidance. A vague label is a warning sign. Choose a device with clear electrical-safety information and instructions for facial use. If the manufacturer cannot explain safe use, pause. A bright glow alone proves little.
Suitability depends on more than skin goals. Ask a clinician before use if you have an eye disorder or a light-sensitive condition. Do the same if you take medication that may increase light sensitivity. Seek advice before treating irritated, wounded, or recently treated skin. Start with the shortest instructed session, keep the specified distance, and use eye protection as directed. Stop if you develop persistent redness, pain, or visual discomfort. Honestly, labels can feel more reassuring than the evidence warrants; results and tolerance vary. Note session times and any skin changes in a simple log.
How to Use Red Light Treatment on Your Face: Check Device Safety and Suitability
About the chart: The ranges shown (630–660 nm red light and 810–850 nm near-infrared light) are examples used in some photobiomodulation research; they are not a universal treatment recommendation or proof that a device is safe or effective.
Before use: Check the device’s labeled wavelength, irradiance and exposure instructions. Follow its eye-protection guidance, and ask a healthcare professional before use if you have a photosensitivity condition, take photosensitizing medication, or have an active skin condition. Stop if treatment causes pain or persistent irritation.
How to Prepare Your Face Before Treatment
Before using red light on your face, wash away makeup, sunscreen, and everyday grime with a gentle cleanser. Rinse well, then pat your skin dry with a clean towel. Keep it simple. Oils or leftover product may interfere with contact or leave residue on the device, depending on its design. Check the device instructions before applying serums or creams; some treatments are intended for bare skin.
Look closely at your skin in good light. If you notice a fresh rash, open cut, or unusual irritation, postpone treatment and seek medical advice when appropriate. A common mistake is assuming that a light-based device suits every skin condition or medication. That assumption deserves a second look. If you have a condition affected by light, or take medication that increases light sensitivity, ask a qualified healthcare professional before starting.
Tie back long hair and remove anything that could block the treatment area, such as glasses or jewelry. Use the eye protection specified in the instructions, and never stare directly into the light. Clean the device’s treatment surface as directed, then position yourself comfortably so you can stay still for the recommended session. Small detail, big difference. If your skin feels hot or uncomfortable, stop and review the device guidance before trying again.
How to Apply Red Light for the Recommended Time
How long should red-light treatment last? Follow the instructions for your specific device; treatment times and light intensity vary, so one schedule cannot fit every mask or panel. Begin with a clean, dry face, position the device as directed, and use its built-in timer if available. Keep your eyes protected as the instructions specify. It is easy to overdo. Longer exposure is not automatically more effective, and extra sessions may irritate sensitive skin.
A 2014 clinical study published in Photomedicine and Laser Surgery examined facial red-light treatments using 20-minute sessions within a 15-week treatment program. That is a research protocol, not a universal prescription. Treat it as context, not a target: the study’s equipment and schedule may differ from yours. Start with the device’s stated duration, record any redness or discomfort, and avoid extending sessions to speed results. Small details matter. If your skin feels hot, stings, or stays irritated, stop and seek advice from a qualified clinician, especially if you have a skin condition or use medication that increases light sensitivity. Evidence is still developing, so steady, cautious use is more sensible than guessing.
How to Monitor Skin Response and Adjust Use
How to Use Red Light Treatment on Your Face?
How to Monitor Skin Response and Adjust Use
Track your skin before changing your routine. Take a photo in the same room and lighting each week, and note redness, dryness, stinging, and breakouts. A 2014 controlled study in Photomedicine and Laser Surgery enrolled 136 volunteers and assessed skin texture, wrinkles, and collagen after red and near-infrared light treatment. Its protocol does not establish one ideal schedule for every home device, so follow your device instructions rather than copying a study regimen. Skin can be slow to respond.
Tips: Start with clean, dry skin and the shortest recommended session. Keep a simple log: date, minutes, and any reaction. Mild warmth may pass quickly; persistent burning, swelling, or worsening irritation means stop and seek advice from a qualified clinician. Do not increase session length to chase faster results.
Review your notes after two to four weeks. If your skin stays comfortable, continue at the instructed frequency; if dryness appears, pause or reduce use. Avoid adding several new products at once, since that makes reactions harder to interpret. I would not treat one unusually glowy morning as proof. Redness can also come from heat, skincare ingredients, or an underlying condition, not just the light.